Copy of Creative Process | Behind the Scenes
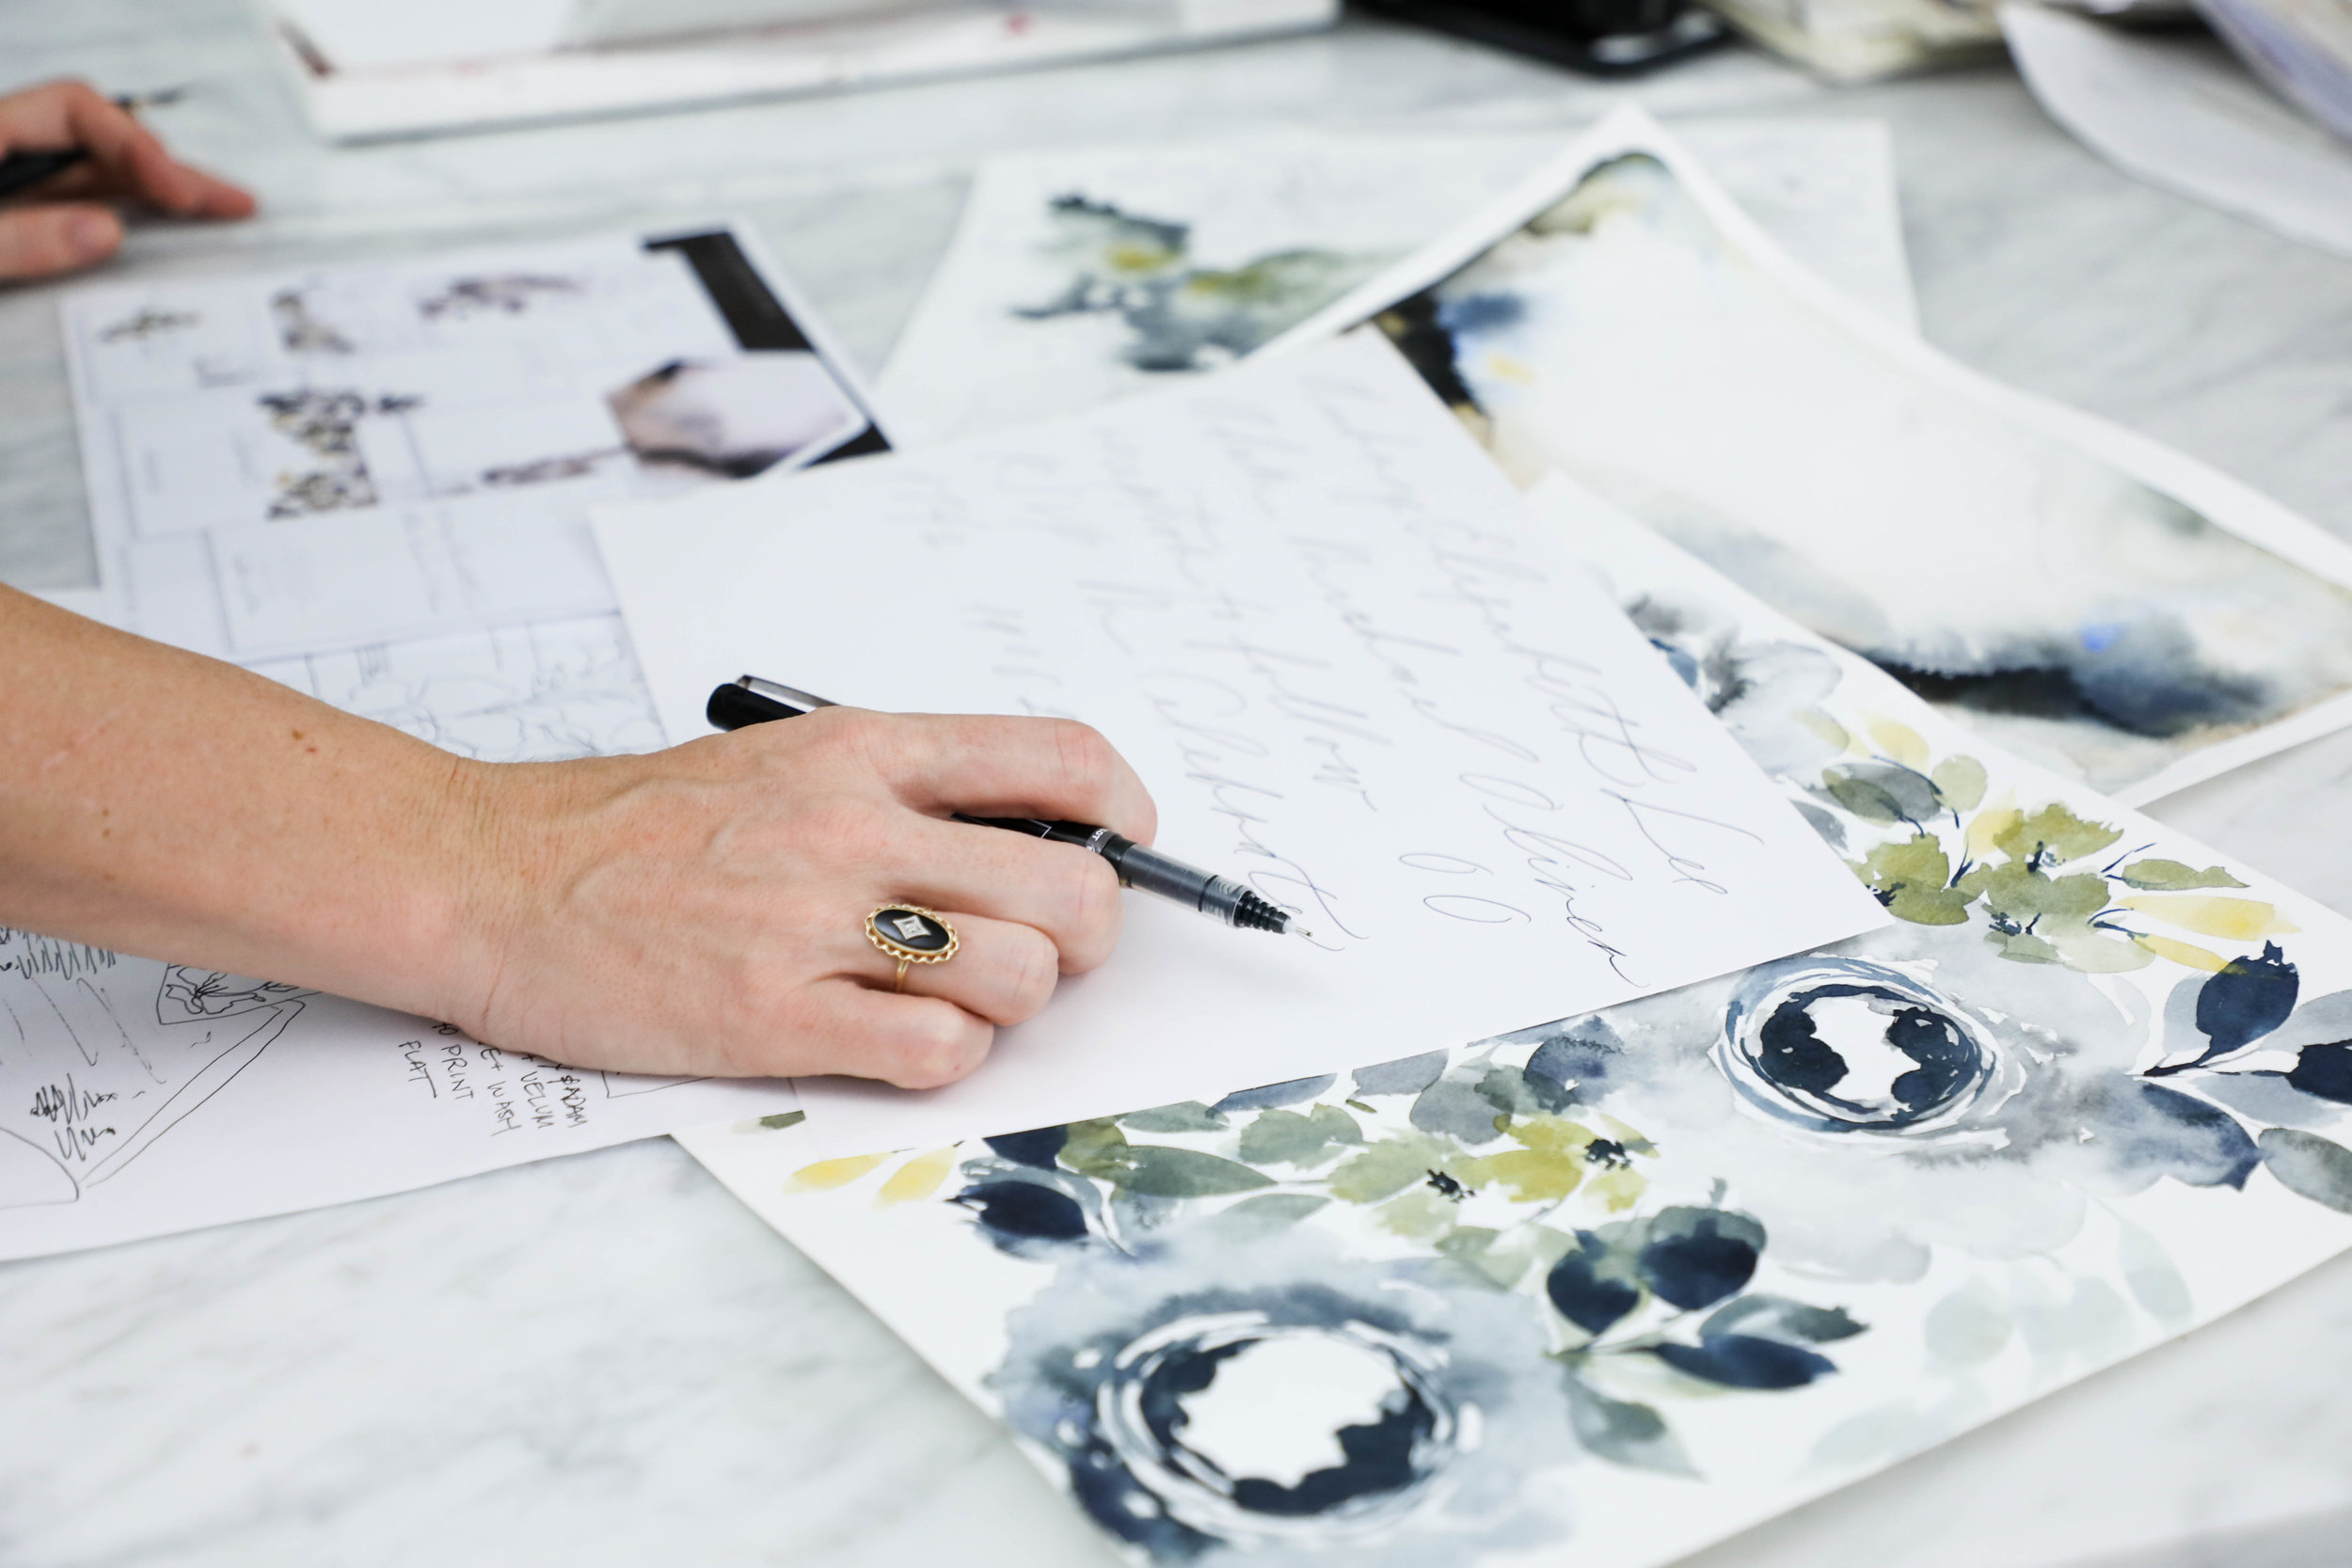
Once we have our sketch finalized and our lettering style selected, we begin creating the artwork that will be included in the invitation suite.
It is our goal and part of our business philosophy that we never want a client to feel limited or concerned that their design won’t be everything they had hoped because they’re limited on how much artwork they can have created for them.
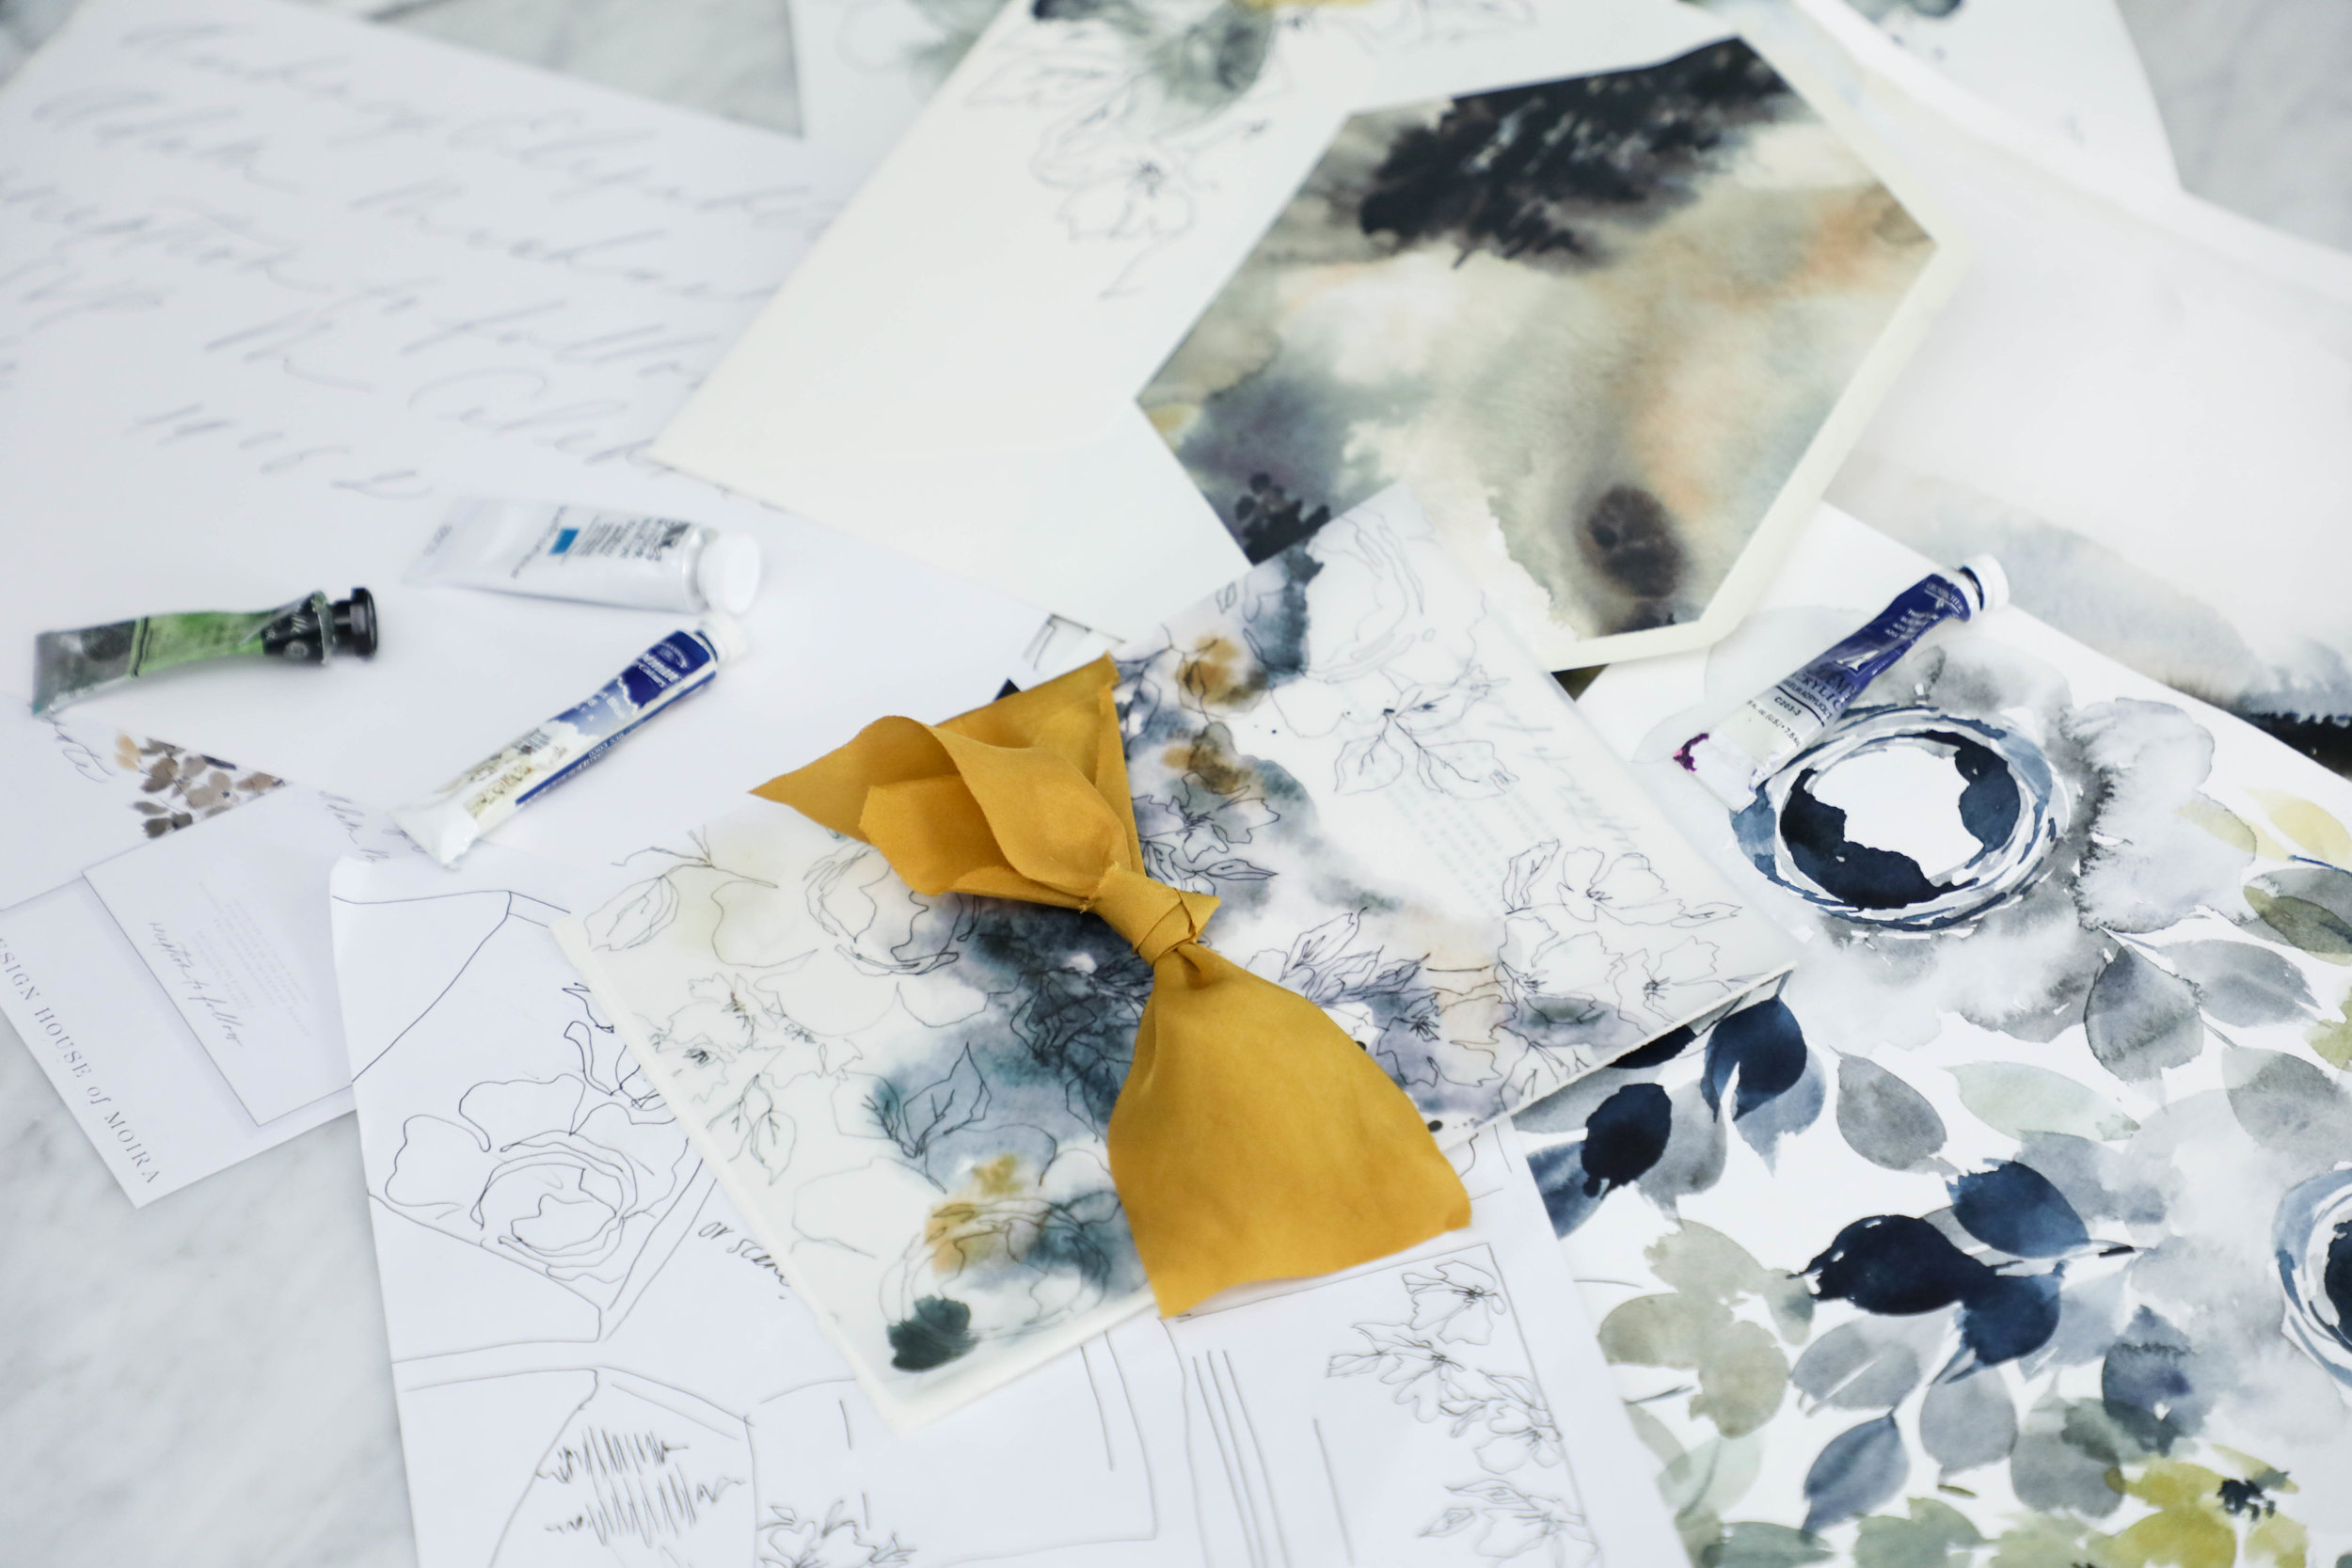
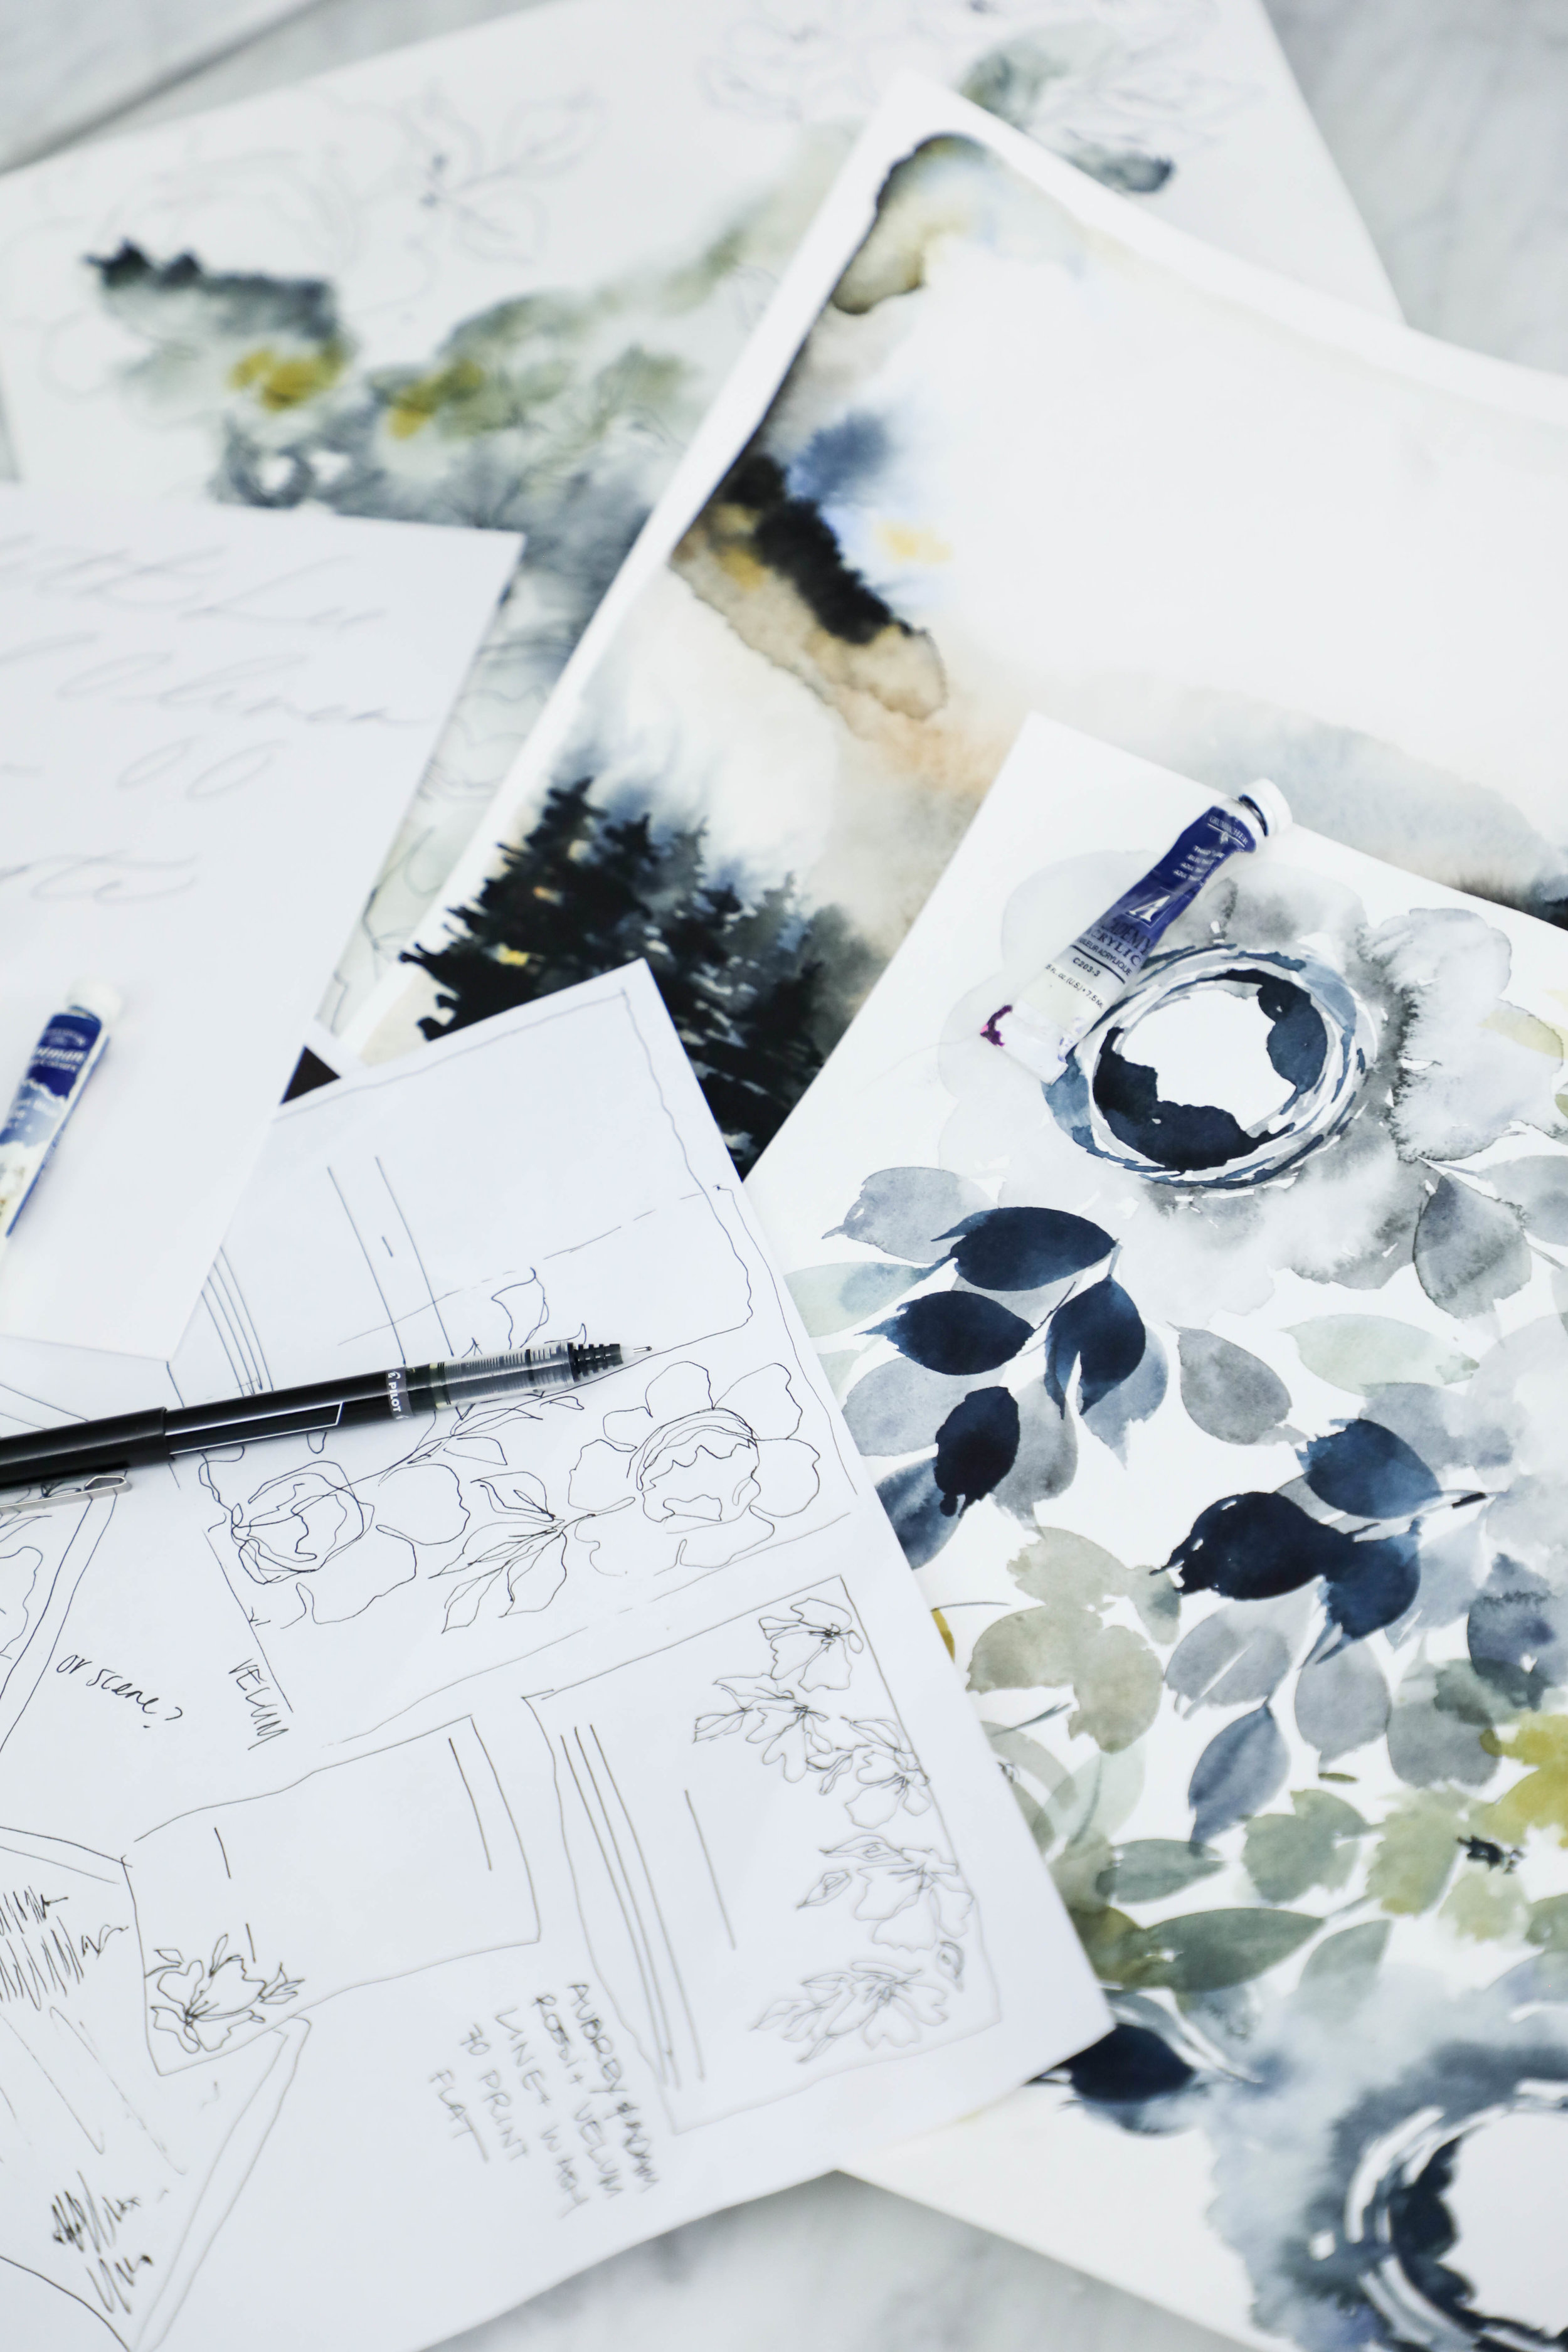
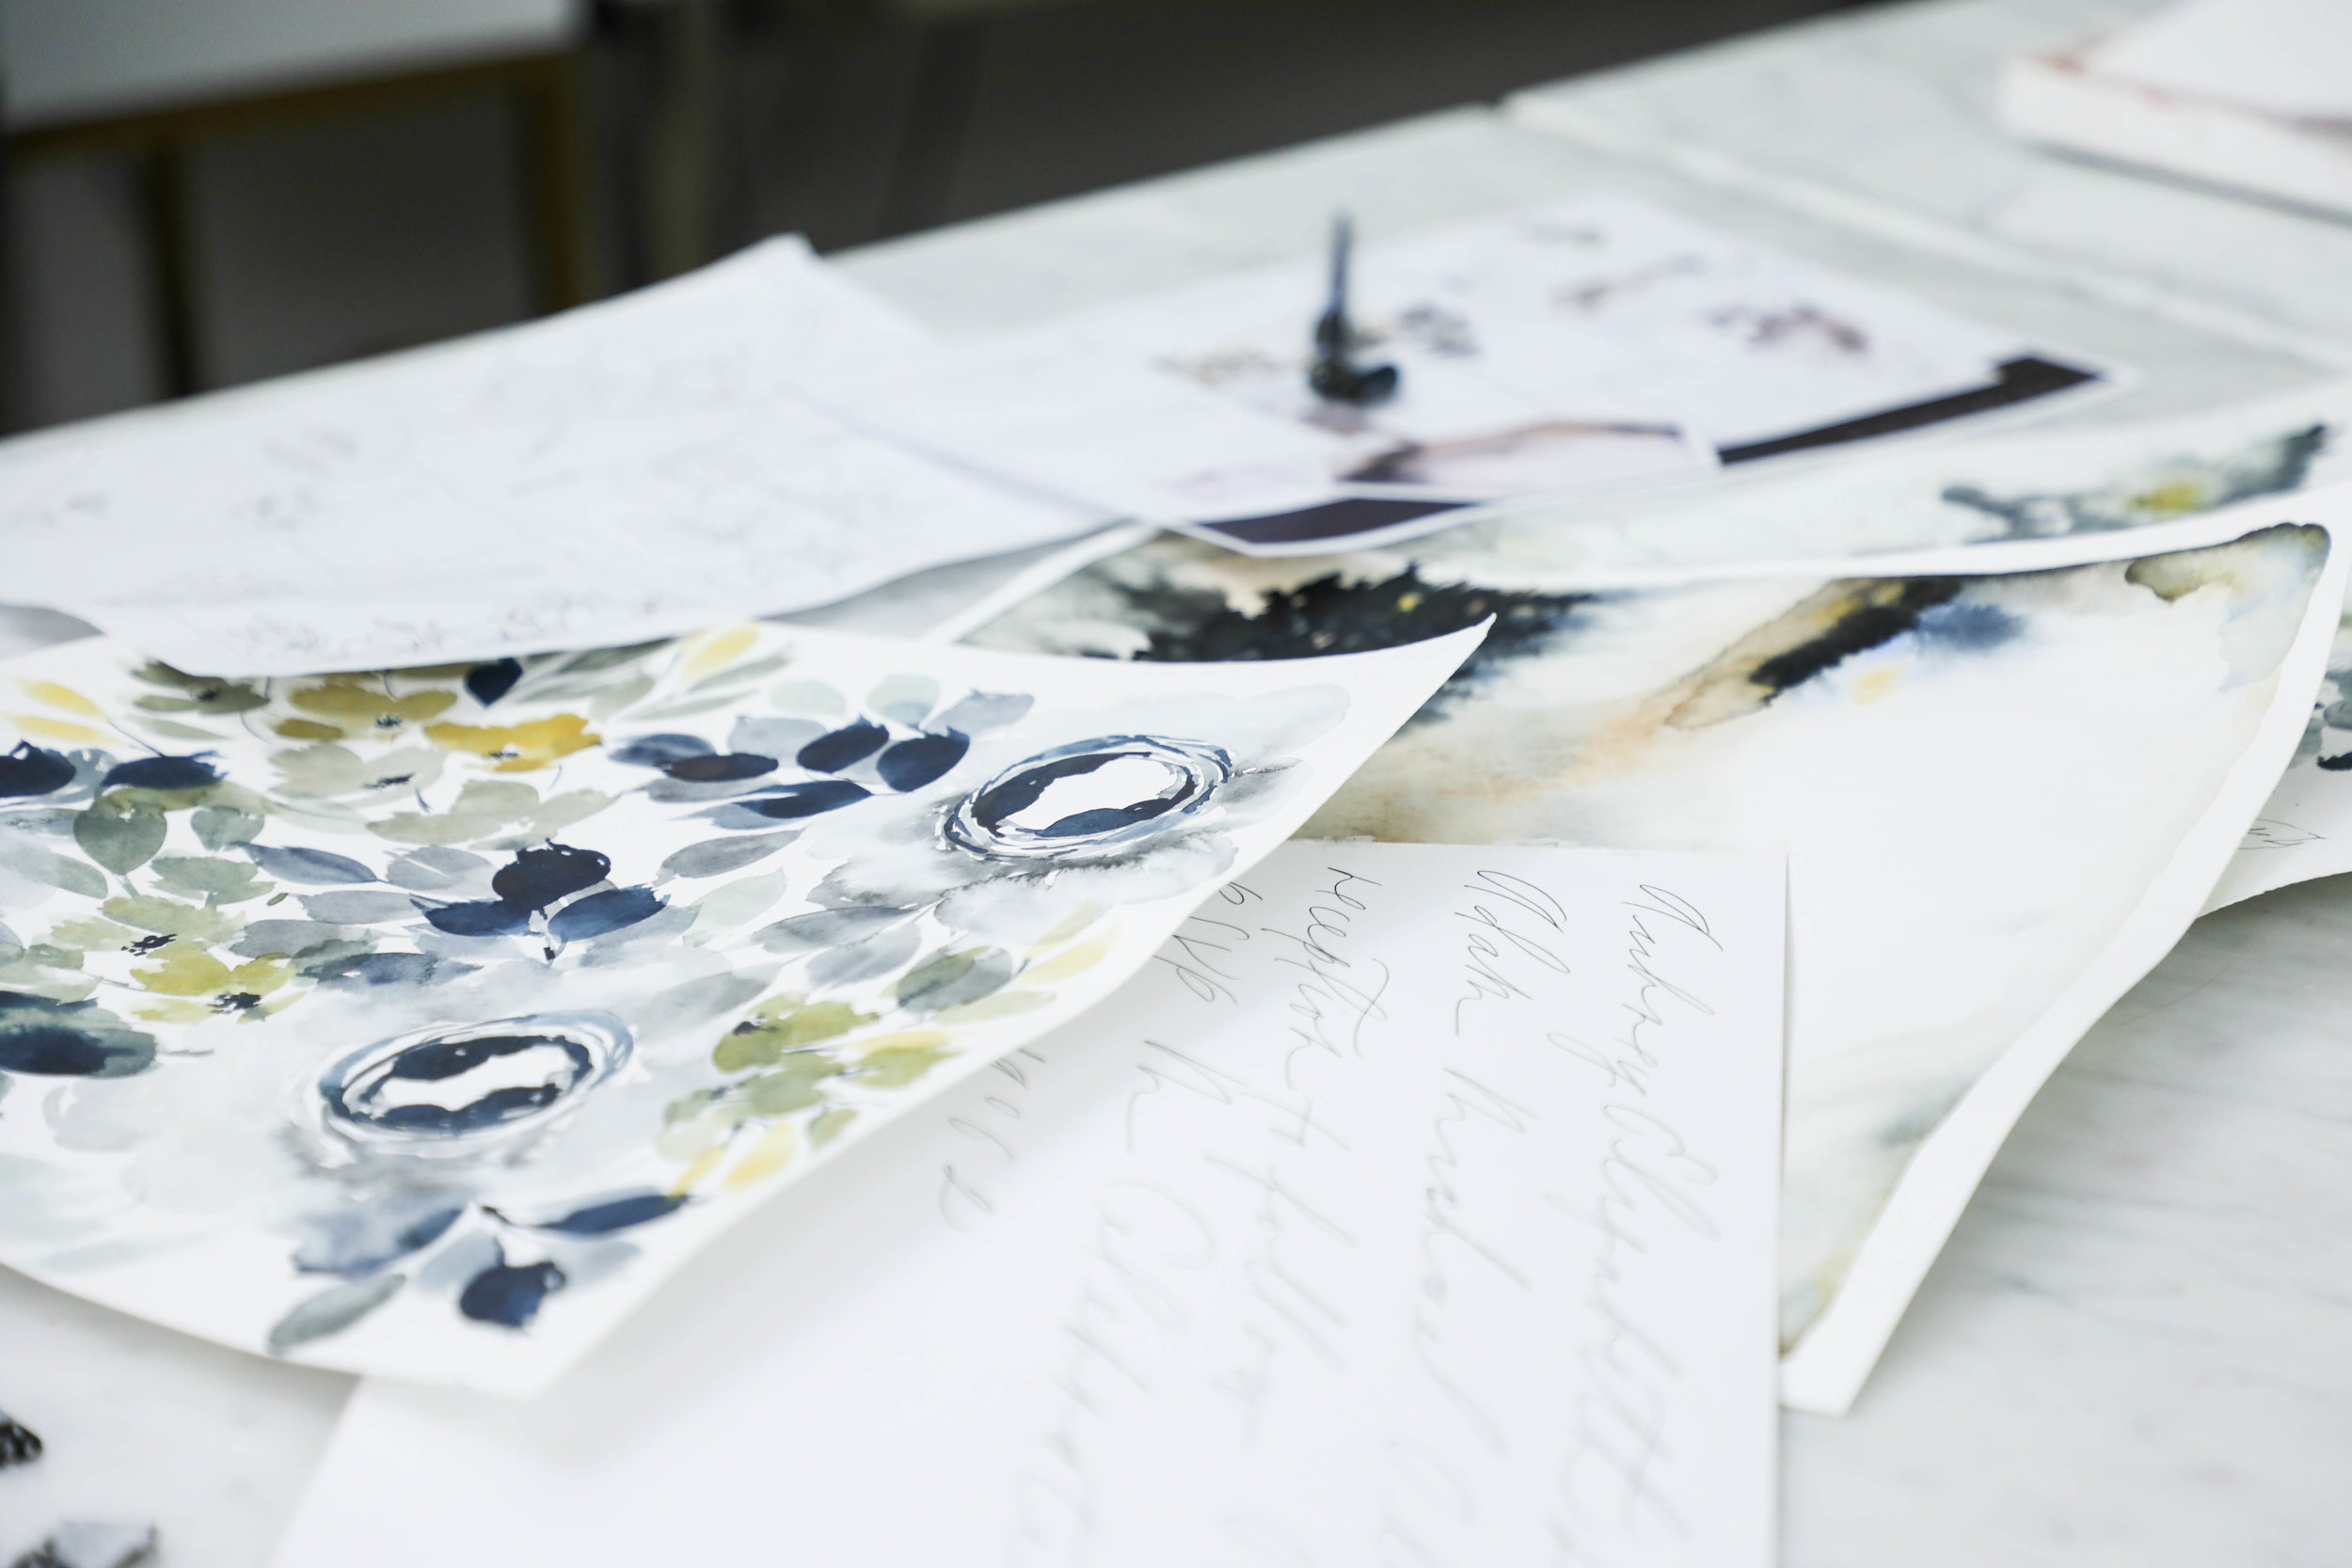
All of our projects include unlimited artwork, regardless of what type of artwork it is. For this suite, we had a watercolor floral pattern, two watercolor wash patterns, a modern landscape piece, and line botanicals.
This is the longest portion of our process without contact with our client. Once they’ve approved the sketch and calligraphy style, we set about creating all the artwork, scanning it into the computer, digitizing the artwork and calligraphy, and getting it ready for their design.
The proof is the next step in the process and is also the next thing the client sees after the sketch (unless they follow us on instagram, in that case, they’ve seen the entire creative process along the way as their design comes to life!).

Aubrey & Adam
Courchevel, France
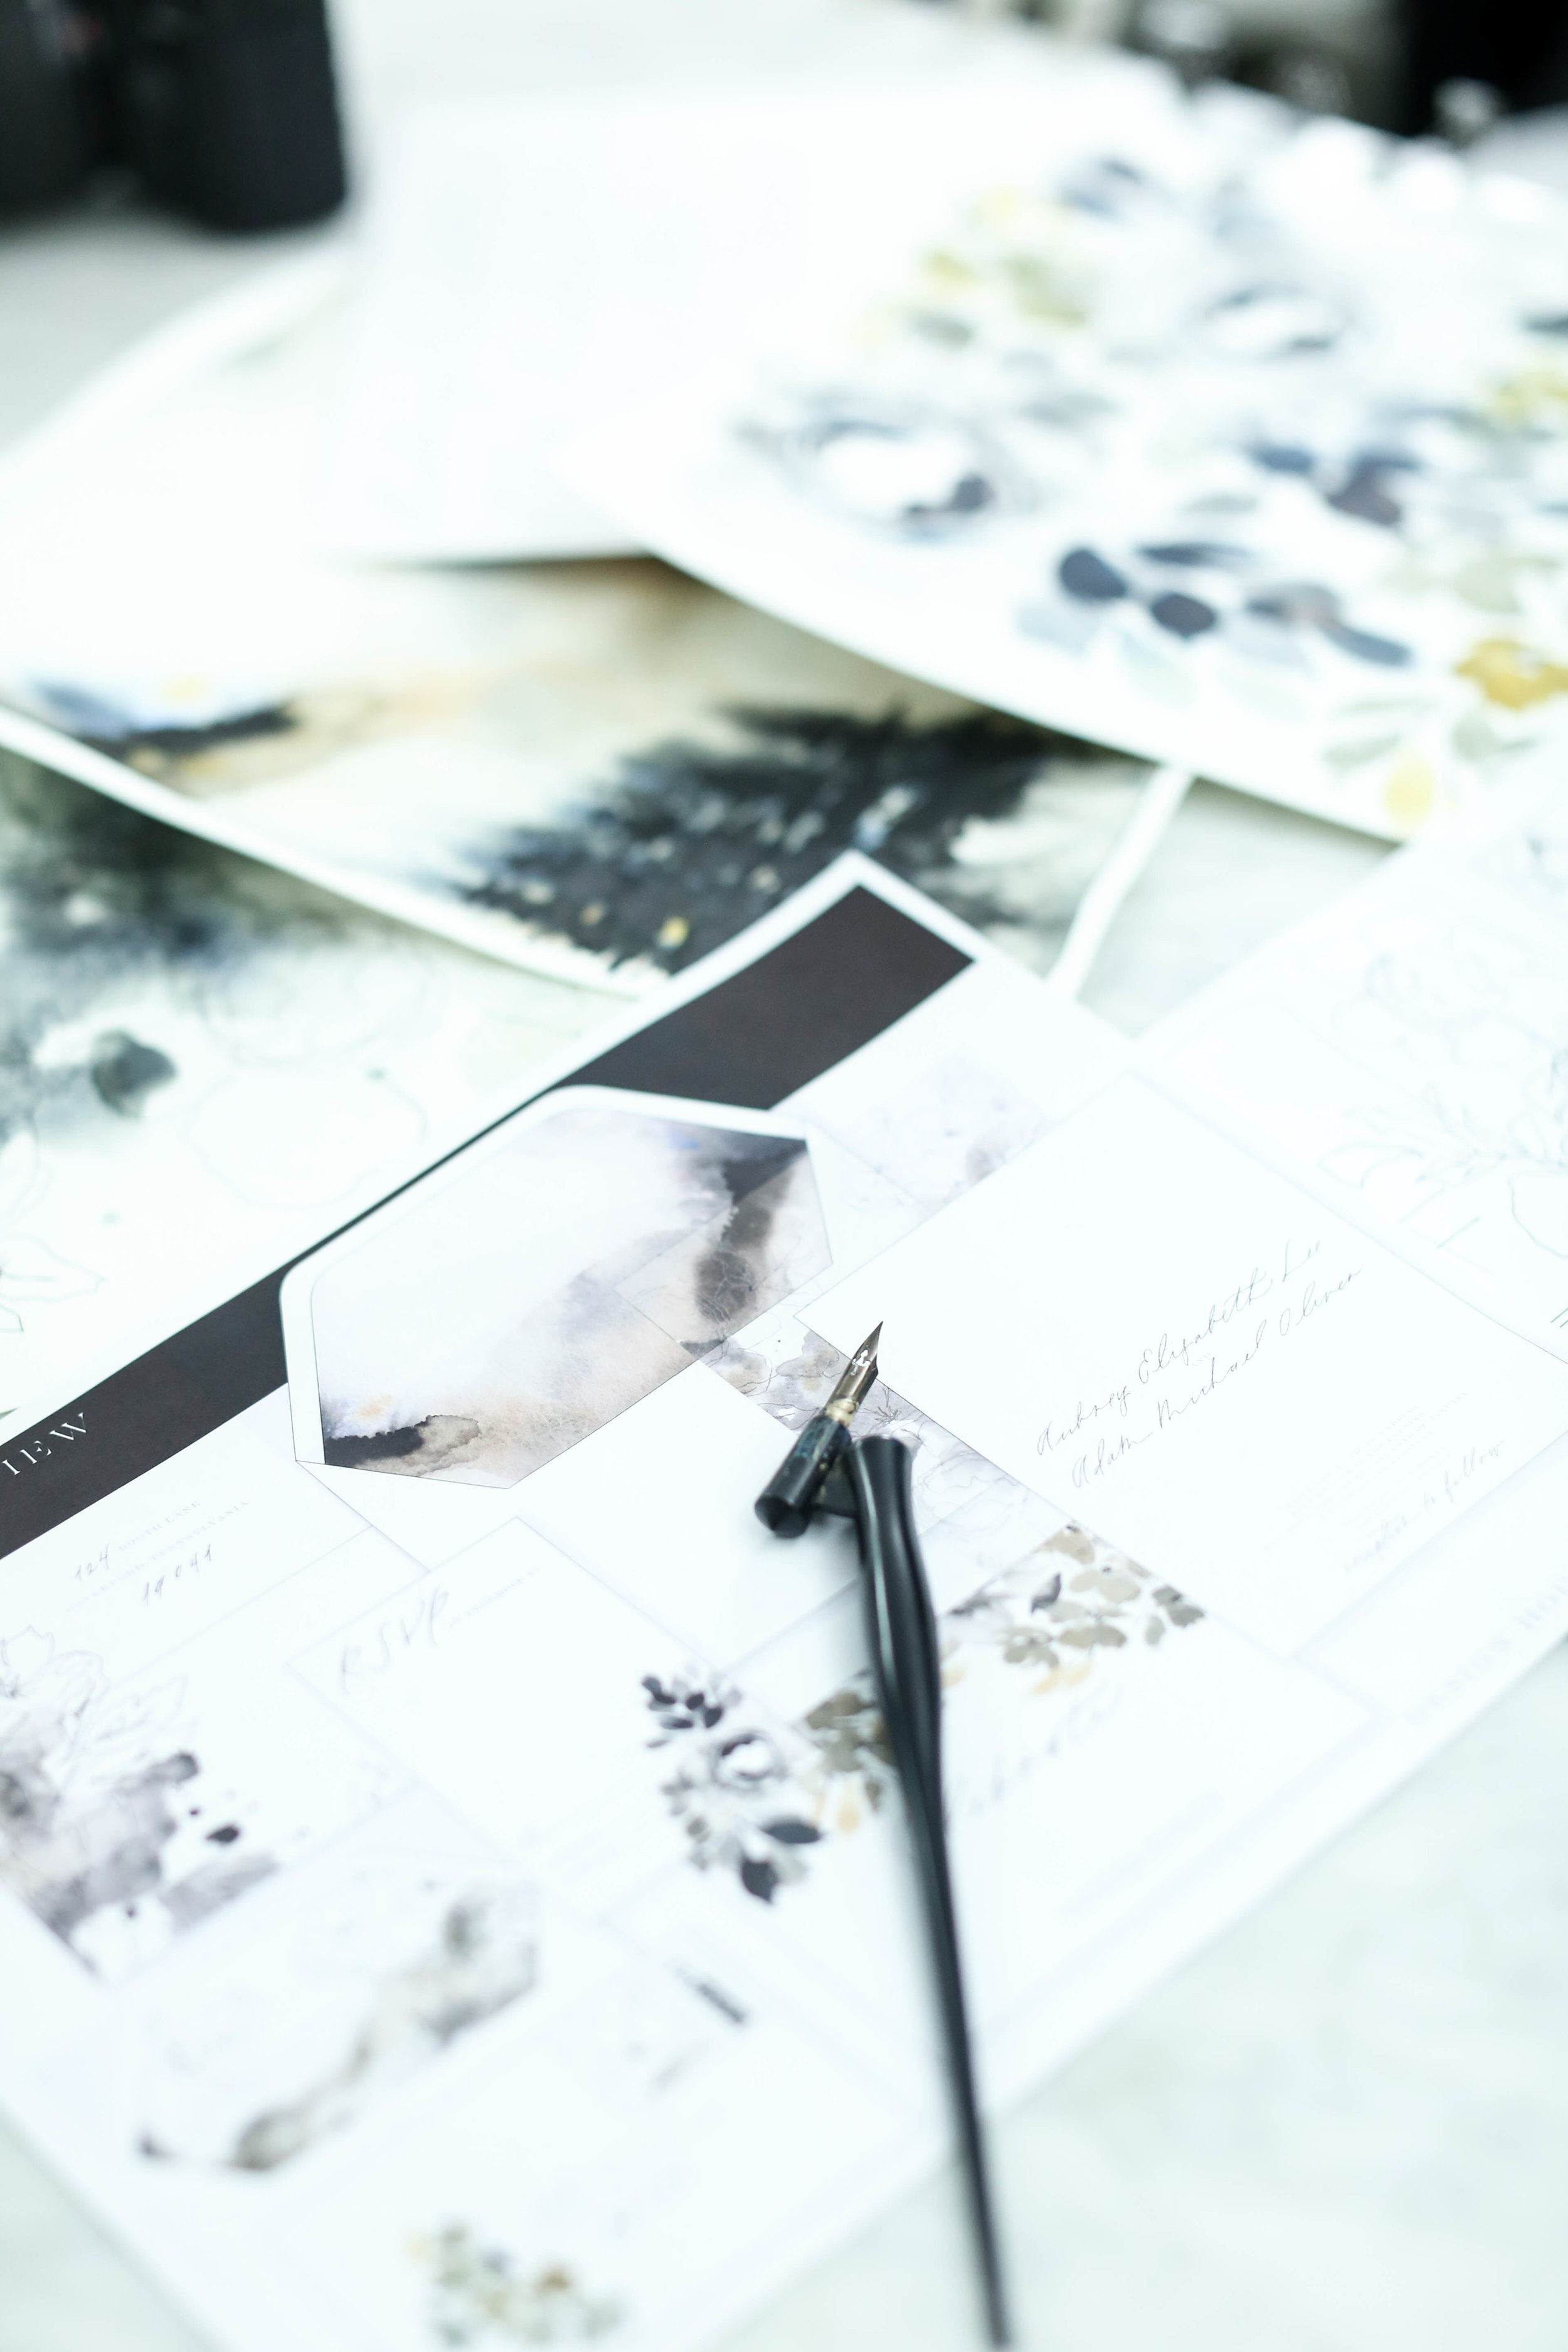
The proofs shows the overall layout of the suite, as well as each individual piece. A proof is usually about 9 pages long, but can get up to 14 if the suite includes several additional pieces.
I personally love the proofing point in the process. It’s the first point that the client sees their sketch come to life in full color.
Similar to artwork, we do not limit how many proofing rounds each client is allowed. We want the design to be perfection, and we’ll tweak it as much as needed.
Two to three rounds tends to be the average, so that is how we timeline out the clients project. If more rounds are needed, we always make sure to keep an eye on our mail date, since that will get pushed back based on how long proofing takes.